
-
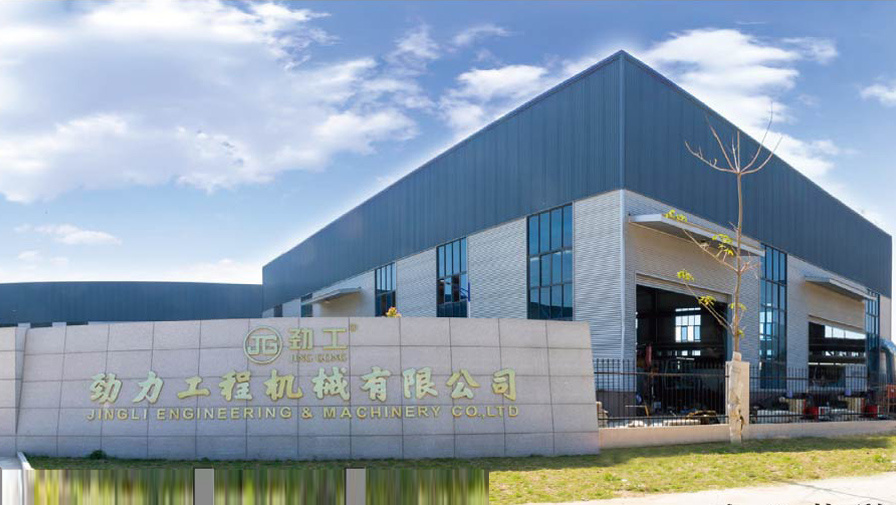
About UsQuanzhou Jinli Engineering Machinery Co., Ltd., established in July 2006, is a professional manufacturer specializing in design, development, production, and sales of equipment machinery.
-
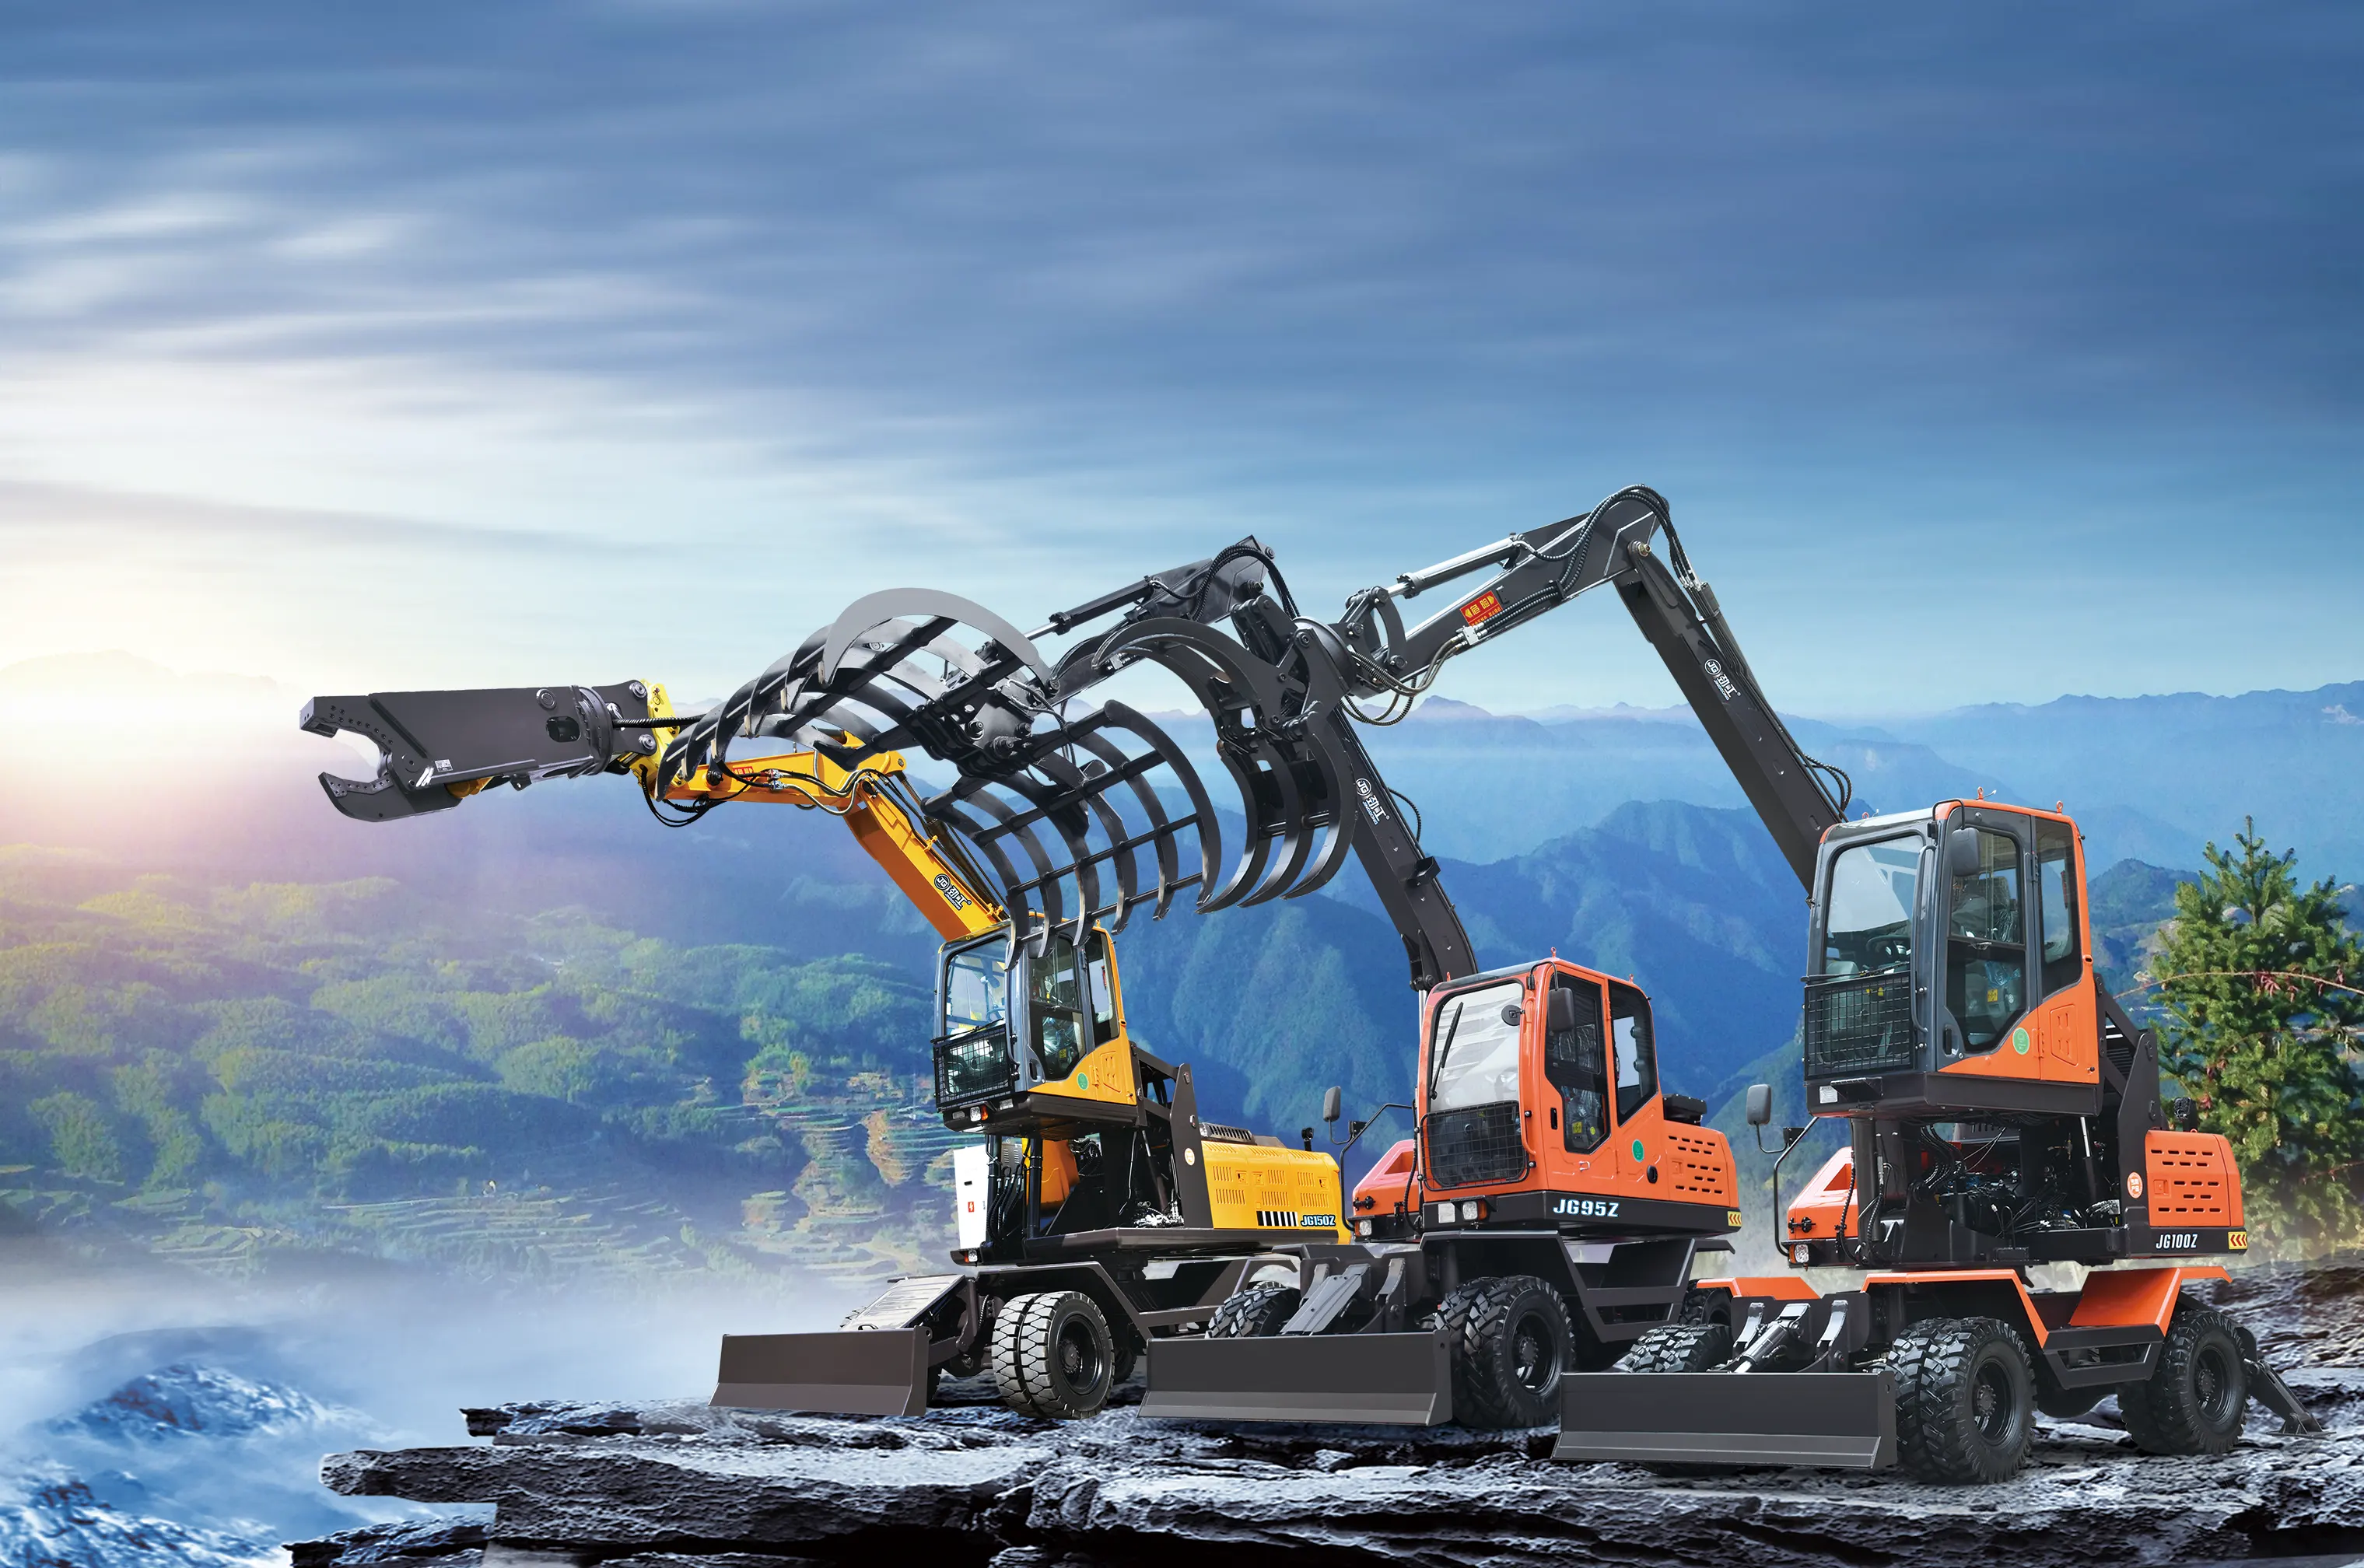
ProductsConstruction machinery: tire excavator, crawler excavator; Forestry machinery: bamboo and wood (sugarcane) picking and loading machines, multifunctional transfer machines; Harvesting machinery: whole rod sugarcane combine har
-
NewsJinggong adheres to the business philosophy of "technology supporting enterprises, quality bearing heavy trust", constantly develops new products guided by market demand, and presents satisfactory products to our customers.

-
ServiceSince its establishment, we have always adhered to the service philosophy of "being close, caring, full lifecycle, and full value chain".

-
Contact UsCorporate Honors We provide our customers not only with advantageous products, technologies, and services, but also with a comprehensive solution to meet diverse needs, thereby continuously creating value for customers and he


Online Inquiry

JINGONG
NEWS
Step-by-Step Installation Guide for Classy Compaction Wheel on Excavator
TIME:2023-12-17 09:20
Table of Contents:
1. Introduction
2. Preparing for Installation
3. Tools Required
4. Step 1: Gather Necessary Information
5. Step 2: Choose the Right Compaction Wheel
6. Step 3: Prepare the Excavator
7. Step 4: Position the Compaction Wheel
8. Step 5: Secure the Compaction Wheel
9. Step 6: Test the Installation
10. FAQs
11. Conclusion
Installing a compaction wheel on an excavator can greatly enhance its performance in construction and earthmoving projects. In this guide, we will provide you with a step-by-step installation process for a classy compaction wheel. By following these instructions, you can ensure a reliable and efficient installation, maximizing the benefits of this attachment on your excavator.
Before beginning the installation process, it is essential to ensure that your excavator is in optimal condition. Check for any existing damage or issues that may affect the installation or operation of the compaction wheel. It is also crucial to gather all the necessary tools and equipment required for the installation.
To install a classy compaction wheel on an excavator, you will need the following tools:
- Wrenches (socket wrench, adjustable wrench)
- Screwdrivers (Phillips and flathead)
- Hammer
- Pry bar
- Torque wrench
- Safety gloves
- Safety goggles
- Lifting equipment (if necessary)
Before proceeding with the installation, gather all the necessary information regarding your excavator model and specifications. This includes the weight capacity, hydraulic system requirements, and any specific instructions provided by the manufacturer of the compaction wheel.
Selecting the appropriate compaction wheel for your excavator is crucial for a successful installation. Consider factors such as the soil type, application requirements, and the weight and size compatibility with your excavator. Consult with experts or refer to the manufacturer's guidelines to ensure you choose the best-suited compaction wheel.
Before attaching the compaction wheel, make sure to park the excavator on a level surface and engage the parking brake. Ensure that the hydraulic system is turned off to prevent any accidental movements during the installation process. If necessary, use lifting equipment to support the weight of the compaction wheel during installation.
Position the compaction wheel near the excavator, ensuring it is aligned with the attachment points. Carefully lower the compaction wheel onto the ground, making sure it is stable. Align the mounting brackets with the excavator's attachment points.
Once the compaction wheel is aligned and positioned correctly, secure it using the provided bolts and nuts. Use a torque wrench to tighten the bolts to the manufacturer's recommended specifications. Ensure that all connections are secure and tight.
After securing the compaction wheel, test the installation by operating the excavator's hydraulic system. Gradually apply pressure to the compaction wheel and observe its movement and functionality. Check for any abnormal sounds or vibrations that may indicate an installation issue. If everything appears normal, you have successfully installed the classy compaction wheel on your excavator.
Q1: Can I install a compaction wheel on any excavator?
A1: While compaction wheels are compatible with most excavators, it is essential to consider the weight capacity and specifications of your machine before installation.
Q2: Is it necessary to use lifting equipment during the installation process?
A2: Depending on the weight and size of the compaction wheel, using lifting equipment may be necessary to ensure a safe and efficient installation.
Q3: How often should I inspect the compaction wheel after installation?
A3: Regular inspections are recommended to ensure the compaction wheel remains secure and in optimal condition. Inspect for any loose connections or signs of wear and tear.
Q4: Can I use the compaction wheel for other applications?
A4: Compaction wheels are primarily designed for soil compaction tasks. It is not recommended to use them for other applications unless specified by the manufacturer.
Q5: How should I maintain the compaction wheel?
A5: Regular cleaning and lubrication of the compaction wheel components are essential for its longevity and optimal performance. Refer to the manufacturer's guidelines for specific maintenance instructions.
By following this step-by-step installation guide, you can effectively install a classy compaction wheel on your excavator. Remember to gather all necessary information, choose the right compaction wheel, prepare the excavator, position and secure the attachment correctly, and test its functionality. Regular maintenance and inspections will ensure the compaction wheel continues to perform at its best, enhancing the productivity of your excavator in construction and earthmoving projects.
1. Introduction
2. Preparing for Installation
3. Tools Required
4. Step 1: Gather Necessary Information
5. Step 2: Choose the Right Compaction Wheel
6. Step 3: Prepare the Excavator
7. Step 4: Position the Compaction Wheel
8. Step 5: Secure the Compaction Wheel
9. Step 6: Test the Installation
10. FAQs
11. Conclusion
1. Introduction
Installing a compaction wheel on an excavator can greatly enhance its performance in construction and earthmoving projects. In this guide, we will provide you with a step-by-step installation process for a classy compaction wheel. By following these instructions, you can ensure a reliable and efficient installation, maximizing the benefits of this attachment on your excavator.
2. Preparing for Installation
Before beginning the installation process, it is essential to ensure that your excavator is in optimal condition. Check for any existing damage or issues that may affect the installation or operation of the compaction wheel. It is also crucial to gather all the necessary tools and equipment required for the installation.
3. Tools Required
To install a classy compaction wheel on an excavator, you will need the following tools:
- Wrenches (socket wrench, adjustable wrench)
- Screwdrivers (Phillips and flathead)
- Hammer
- Pry bar
- Torque wrench
- Safety gloves
- Safety goggles
- Lifting equipment (if necessary)
4. Step 1: Gather Necessary Information
Before proceeding with the installation, gather all the necessary information regarding your excavator model and specifications. This includes the weight capacity, hydraulic system requirements, and any specific instructions provided by the manufacturer of the compaction wheel.
5. Step 2: Choose the Right Compaction Wheel
Selecting the appropriate compaction wheel for your excavator is crucial for a successful installation. Consider factors such as the soil type, application requirements, and the weight and size compatibility with your excavator. Consult with experts or refer to the manufacturer's guidelines to ensure you choose the best-suited compaction wheel.
6. Step 3: Prepare the Excavator
Before attaching the compaction wheel, make sure to park the excavator on a level surface and engage the parking brake. Ensure that the hydraulic system is turned off to prevent any accidental movements during the installation process. If necessary, use lifting equipment to support the weight of the compaction wheel during installation.
7. Step 4: Position the Compaction Wheel
Position the compaction wheel near the excavator, ensuring it is aligned with the attachment points. Carefully lower the compaction wheel onto the ground, making sure it is stable. Align the mounting brackets with the excavator's attachment points.
8. Step 5: Secure the Compaction Wheel
Once the compaction wheel is aligned and positioned correctly, secure it using the provided bolts and nuts. Use a torque wrench to tighten the bolts to the manufacturer's recommended specifications. Ensure that all connections are secure and tight.
9. Step 6: Test the Installation
After securing the compaction wheel, test the installation by operating the excavator's hydraulic system. Gradually apply pressure to the compaction wheel and observe its movement and functionality. Check for any abnormal sounds or vibrations that may indicate an installation issue. If everything appears normal, you have successfully installed the classy compaction wheel on your excavator.
10. FAQs
Q1: Can I install a compaction wheel on any excavator?
A1: While compaction wheels are compatible with most excavators, it is essential to consider the weight capacity and specifications of your machine before installation.
Q2: Is it necessary to use lifting equipment during the installation process?
A2: Depending on the weight and size of the compaction wheel, using lifting equipment may be necessary to ensure a safe and efficient installation.
Q3: How often should I inspect the compaction wheel after installation?
A3: Regular inspections are recommended to ensure the compaction wheel remains secure and in optimal condition. Inspect for any loose connections or signs of wear and tear.
Q4: Can I use the compaction wheel for other applications?
A4: Compaction wheels are primarily designed for soil compaction tasks. It is not recommended to use them for other applications unless specified by the manufacturer.
Q5: How should I maintain the compaction wheel?
A5: Regular cleaning and lubrication of the compaction wheel components are essential for its longevity and optimal performance. Refer to the manufacturer's guidelines for specific maintenance instructions.
11. Conclusion
By following this step-by-step installation guide, you can effectively install a classy compaction wheel on your excavator. Remember to gather all necessary information, choose the right compaction wheel, prepare the excavator, position and secure the attachment correctly, and test its functionality. Regular maintenance and inspections will ensure the compaction wheel continues to perform at its best, enhancing the productivity of your excavator in construction and earthmoving projects.
Related News
Contact Us
No. 88, Pan Cuo, Jiaonan Village, Heshizhen, Luojiang District, Quanzhou City, Fujian Province


